Thursday 12 January 2017
Wednesday 11 January 2017
Final Render Turn Around
This took 6 hours to render at this quality at HD1080. If I was to use it in a professional environment I would re-render at a higher quality, despite this fact I am extremely please with work and out come -the lighting and shadows especially. The lighting I use has created a uniform light on the right hand side so that the viewer can see ever part of my model that i have created in detailed light with effect shadows cast on the left. I am really pleased with the skills I have gained along my journey in this module, and the development from 2D to 3D was a process that continued to impress me.
Final Render Images


I am extremely impressed with these 4k renders. My plan was to create a viking in a plasticine like style, such as the work in 'How To Train Your Dragon' 1 and 2 as well as 'Epic'. Which I feel I have acheived to a surton degree, however my work may not as good as there work it has its strengths... as well as its weaknesses.
Saturday 7 January 2017


Textures on Character
Adding the final textures was a longer process than I anticipated, and I came upon more problem than the modelling side of things. However again I am a fan of puzzle solving so this was a challenge that enjoyed. I came across the problems in that the colour/ bump maps don't line up with the characters geometry, to solve this I had to go to the UV map and change the seams. This then cause me to change the colour/ bump maps to a line them with the new UV. Personally I feel that my best texturing work is the mouth, specifically the Teeth and Gums as they come across more realistically and they have a bit more character about than the rest of the body. The wonky look and missing tooth give it that natural look to a CGI build.

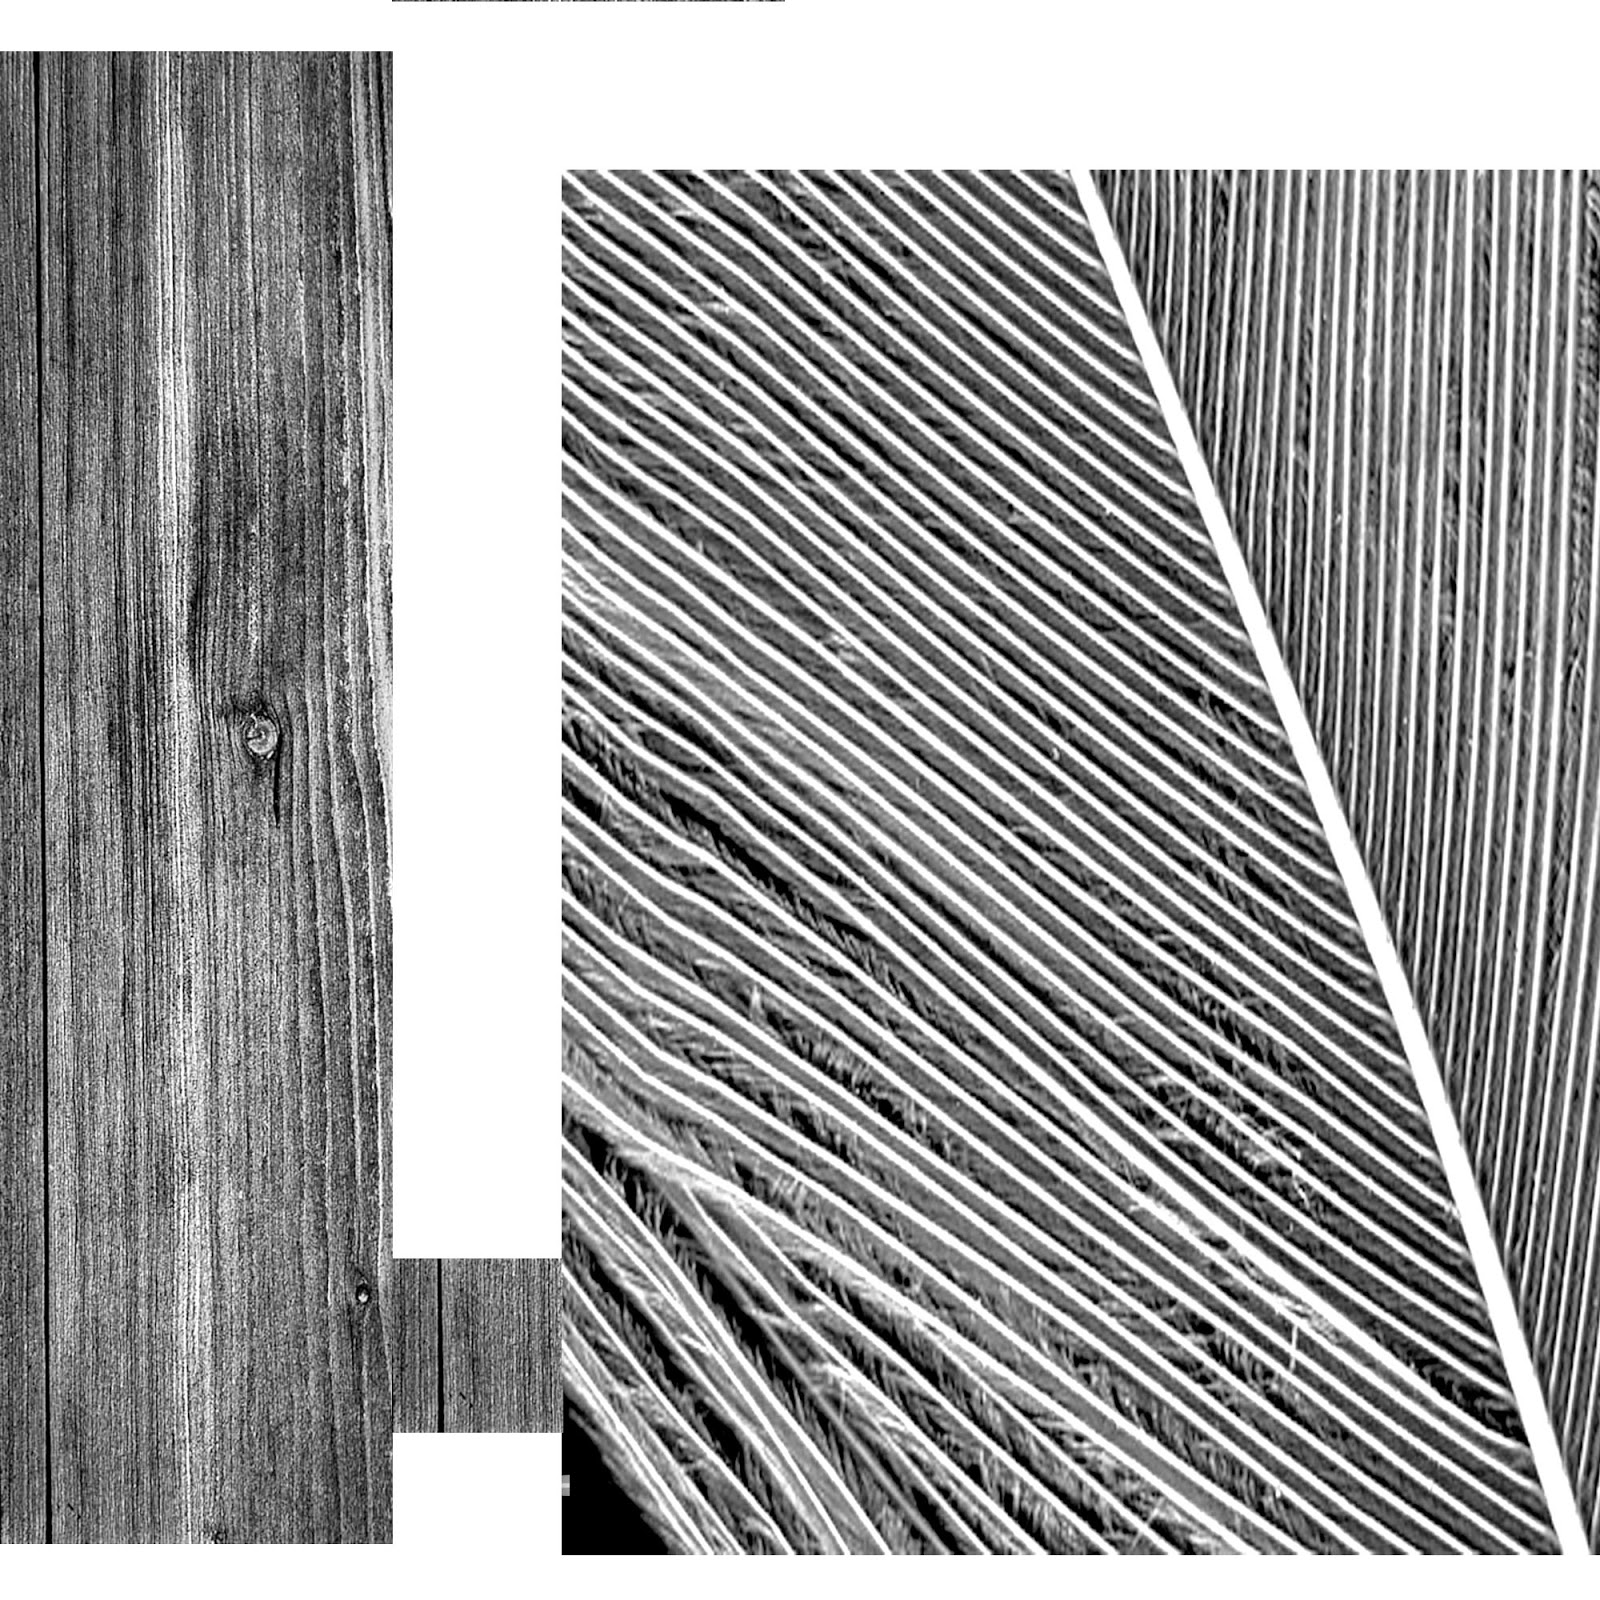


Bump Maps
A lot of the bump maps I used I created in maya, such as skin, the teeth, the gums, the tongue, part of the hair, the cotton shirt and a metal texture as well as others. I also used images found and created my own textures sizes for the shield, the wood on the shield, the wall on the boot the leather, other parts of metal, bone, hair, feathers and more material. Most of the month for simple to create as you just use the original image and change colour to black and white and bring out the highlights and low lights. I enjoy creating as didn't fully know it would work will not which is just like puzzle solving which is one of the reasons I like this module to challenge yourself in the way you think. If a bump map did not work it was sometimes down to the fact that it was too deep or too high in the settings but even if you change that still at work is new one which I have to do more than once. However some worked even better than I initially thought which is a bonus fortunately.


Colour Maps
After bringing the work into photo
shop, UV maps I was unable to create different layers and digitally draw and
paint on them. The first started again was the head it was quite strange
painting of a so flat you know of any drawing to directions anyway creating a
3-D objects into a flat surface then drawing is another thing. Completely
different. looking at my original sketch and improving it I went straight in to
the face putting a skin tone in the background like patches of mud and dirt on
the face and then putting on war paint on top to try create the realistic
approach that would happen in real life skin the then paint. I personally feel
most effective painting I did was of the I creating the simplistic but
effective pattern of the iris with all the different lines and shades the
green. With the beard, I created a simple painting as the idea was to create a
bump map that would make the light and dark part more effective so I did a
single layer of one colour of a light blonde yellow then worked on to a bit in
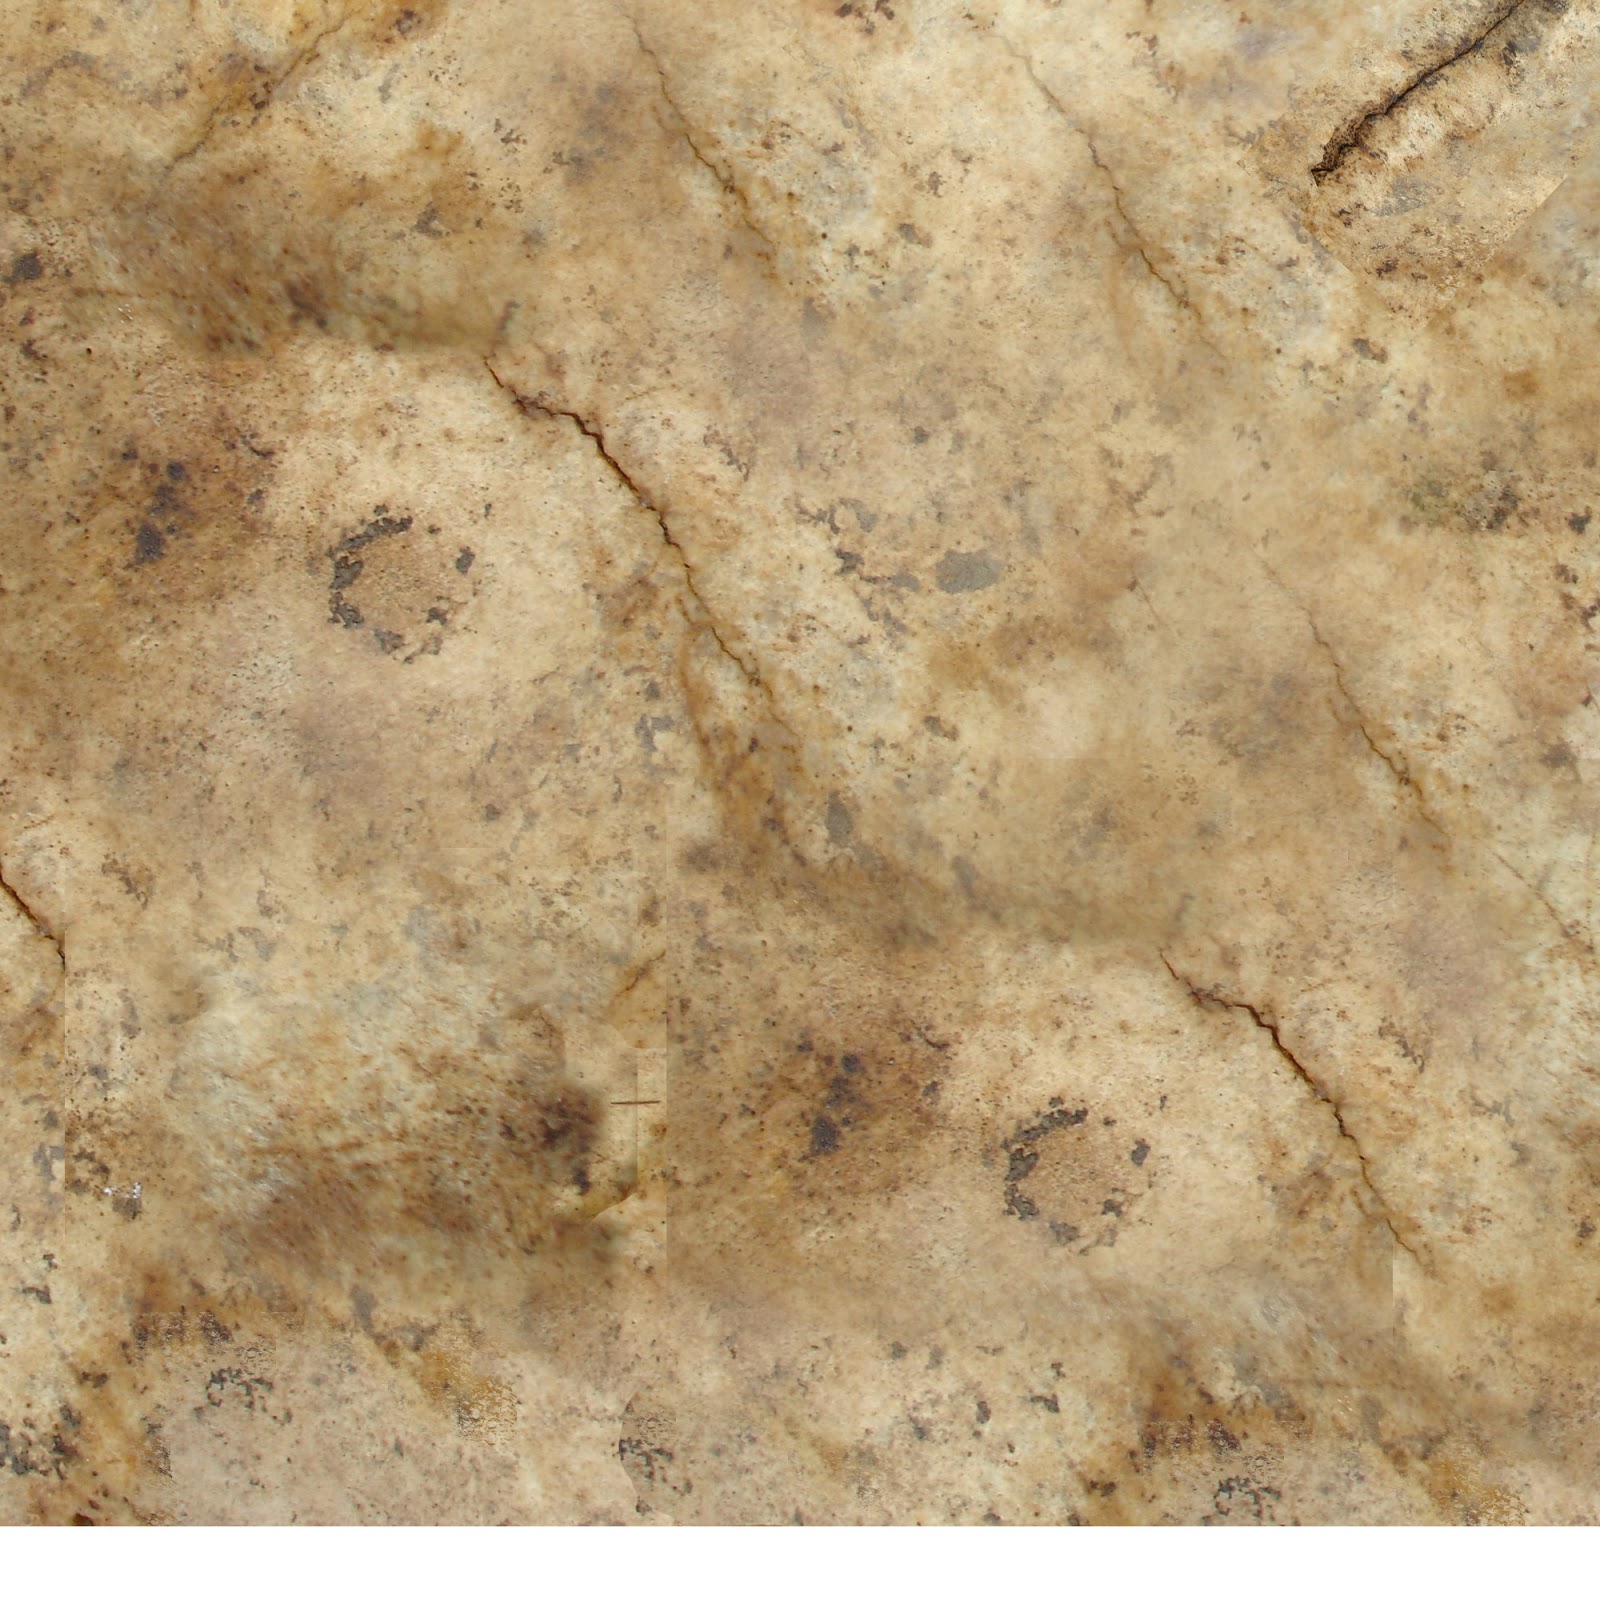
a dark yellow and then again to create simple strands of hair. I also used
real-world images such as an image of wood, I changed the colours and
saturation light and arcs in the image to be the last real effect. I then moved
on to the bump maps.


UV Maps
When it came down to UV mapping was able to put the seams on the object and then use the automatic UV filter to create UV's to leave these came out in a little bit of a mess. However I was able to move uses about in the videos to create a smoother and more efficient map. The first thing a is the face I thought my my knowledge was high enough to understand the simpler object however I want to start with the hardest so then when I came to the simpler objects I did faster. The head was quite difficult to map out the seams so that they were invisible to the eye when rendered. I created a seam behind the ears the back of the head and circular seam at the top of the head and the helmet so will be hidden. I mainly for the tutorial understanding how TV mother also my own knowledge as well in creating 3-D objects in the past such as nets for three-dimensional paper sculptures and three-dimensional clay characters. This does help in creating the scenes as only had a small amount of knowledge from the past. However when it came to some objects it was a little harder than others as the object is more complicated for example when I was trying to UV map the axe I kept meaning to problems in the end I overcome thinking a different manner instead of so literally. I then what you photo shop to work on.
Subscribe to:
Posts (Atom)